
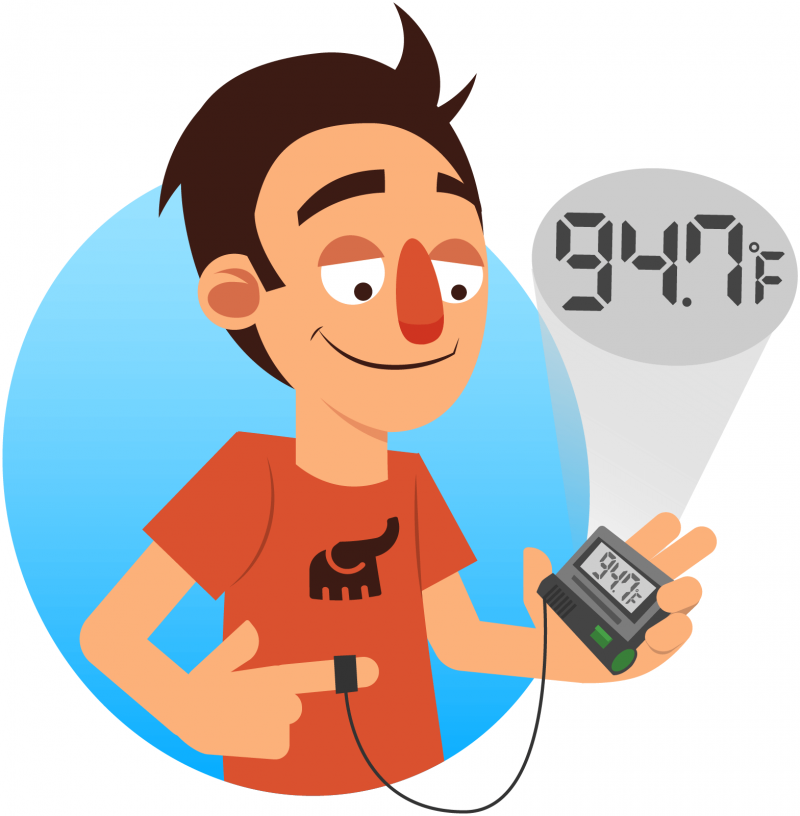
Hand-warming is one of many methods used in biofeedback training. Biofeedback training devices simply measure your body’s automatic functions; things like your breathing and heart rate, or body temperature changes. The device “feeds back” information to you, so you can see these small changes in your body and the factors that cause them. With biofeedback, you can develop an awareness of these normally unnoticed automatic functions, making it possible to gain conscious control of them.
Biofeedback training doesn’t use drugs or surgery to alter your body but teaches your body to alter itself. Once you acquire a biofeedback skill, you might not even need to use a device for feedback, and might only use it to occasionally tune or validate the effectiveness of your learned skill.
How does hand-warming biofeedback work?
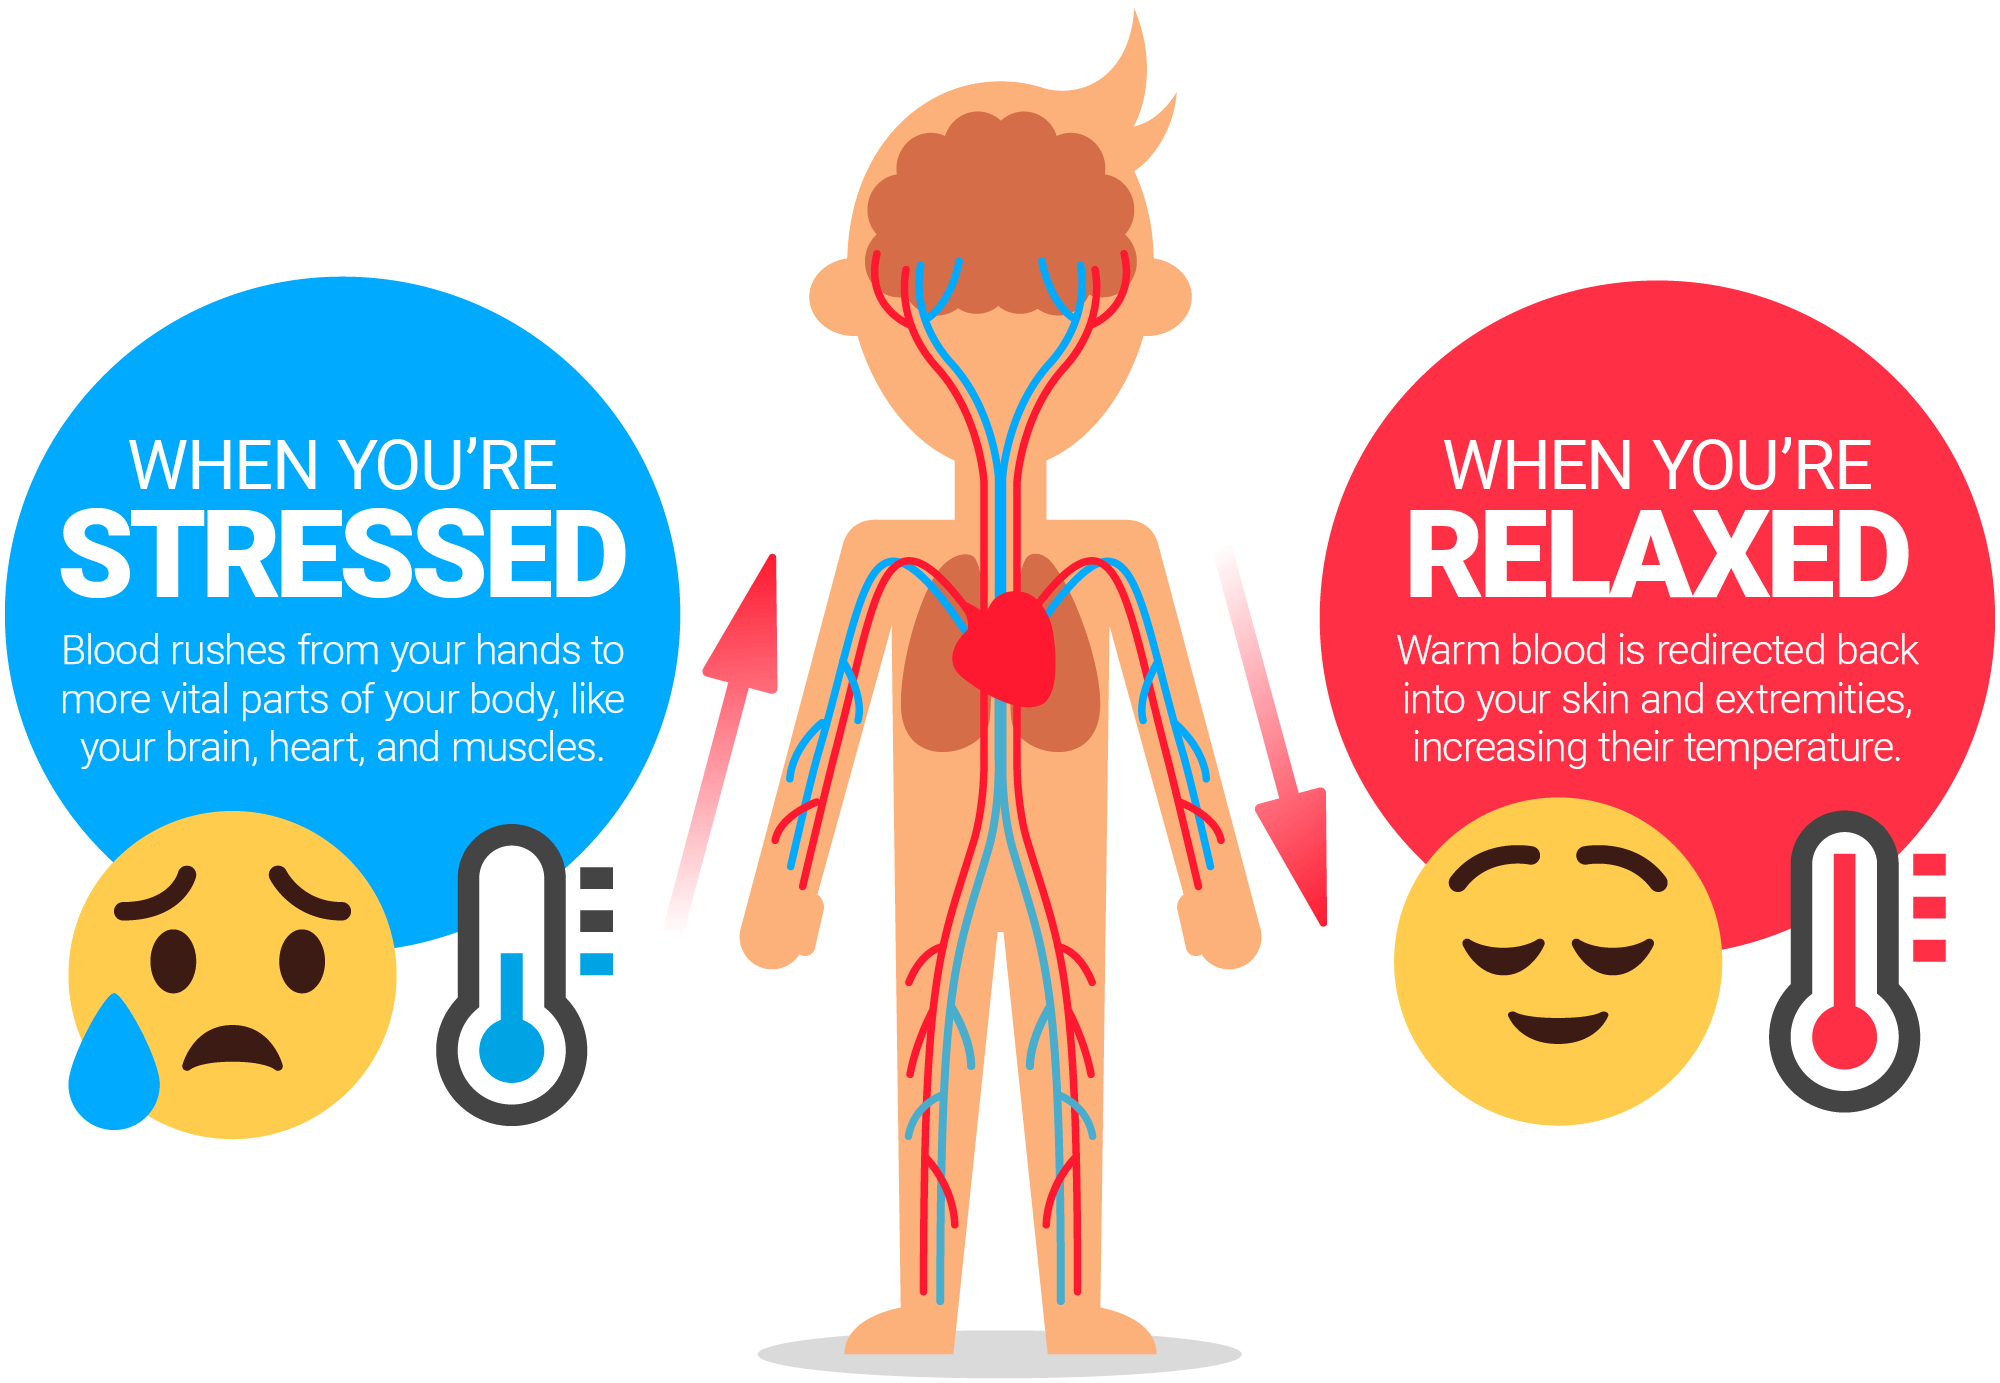
The premise behind hand-warming biofeedback stems from our understanding of the fight-or-flight response, an automatic change of physiological markers that takes place when you suddenly perceive danger or stress. Blood flow is rushed from your extremities to the vital organs of your body, lettings you better react physically to danger.

The fight-or-flight response was once beneficial to ancient man as an automatic self-protection device in primitive times, but can now be counter-intuitive and harmful. In modern times, you rarely, if ever, face real life-or-death situations. If you overuse this natural response, constantly interpreting things as being stressful or dangerous that in reality are not, you’re chronically sending this emergency response to your body.
The main goal of hand-warming biofeedback is to measure your level of stress via your skin temperature, allowing you to consciously change your stress level to appropriately meet the circumstances. The more stressed you are, the lower the temperature in your hands, feet, and other extremities. The lower your stress level, the higher the temperature. Cold hands are tense, warm hands are relaxed!
How do I do hand-warming biofeedback?
For your first training, set aside 60 to 90 minutes of undisturbed free time.
Find a quiet room with a comfortable temperature, without phones or other distractions. Make sure your clothing and chair are as comfortable as possible. As your skin temperature depends on your room’s ambient temperature, you should try to perform each training session while in similar conditions.
Use cloth tape to attach the temperature sensor to your index or middle finger. Plastic tape works too, but it’s less comfortable because it’s airtight and can make your fingers sweat.
You should get acclimated to the ambient temperature in your room for at least 5 minutes before you start training. This short adjustment period can actually raise your baseline hand temperature by several degrees.
STAGE 1 Observe, experiment, and determine your initial status |
STAGE 2 Relaxation training with temperature biofeedback |
STAGE 3 Relaxation without feedback |
STAGE 4 Deliberate provocation, relaxation and stress coping |
STAGE 1 – Observe, experiment, and determine your initial status
In comparison with other biofeedback techniques, you will need fewer sessions for a reliable success with hand-warming relaxation training. 6-10 sessions are often enough for noticeable results. To keep focused throughout the entire session, limit session length to about 15 minutes. If you start feeling tired while training, try shortening your sessions and practice more often instead.
Before each session, you should record your baseline state for 2-3 minutes, letting the sensor temperature adapt to your finger. Sitting upright and comfortable, don’t watch the temperature but simply let the device measure. Sensor temperature will become relatively stable, and the training itself can begin.
In your first session, take 10 minutes to relax as best as you can without watching the temperature feedback. This part is about determining whether simple relaxation without feedback can raise your skin temperature.
Now take a look at your measurements. Did conscious relaxation already raise your temperature? No matter if it happened or not, you should get accustomed to your biofeedback device. Watch the temperature display and see if you can exert conscious influence on it. This exercise marks the end of the first stage.
| Below 79°F | 79-84°F | 84-90°F | 90-95°F | Over 95°F |
| Below 26°C | 26-29°C | 29-32°C | 32-35°C | Over 35°C |
| Highly Tense | Tense | Calm | Relaxed | Deeply Relaxed |
STAGE 2 – Relaxation training with temperature biofeedback
Before starting your next session, try to be aware of your hand temperature during everyday activities. Do your hands feel particularly warm or cold in certain situations? These observations can be very helpful for the exercises to come.
Always start each session with a 2-3 minute baseline measurement, without watching the values, in order to reach a steady state.
Now you can start to train conscious relaxation using the temperature feedback. Watch the temperature values while relaxing and try to find ways to bring them up. There are many ways to relax and increase your hand temperature. We suggest that you try a few and find the method that works best for you. The basic idea behind each of these methods is to focus on the experience of being profoundly relaxed.
- Deep Breathing – This is one of the most common ways used to relax. It has an ancient therapeutic history. Take deep breaths from your diaphragm and exhale for a longer count than the inhalation.
- Muscle Tensing – This is accomplished through sessions of tensing muscles and then completely relaxing them. It is believed the relief you experience after tensing your muscle is an analog of the conscious relaxation process you are trying to learn.
- Imagery – Think about a very peaceful, warm and calm place, such as lying on your beautiful imaginary beach. Imagine the warmth and imagine yourself there.
- Music – Some people find it easy to increase their hand temperature by just sitting in a comfortable chair and listening to appropriate soft music.
- Autogenic Phrases – In this method, positive, present tense statements are said to one’s self. Examples would be: “I feel relaxed. My hands are beginning to feel warm. My muscles are all loose and comfortable. I can feel the blood running into my hands. My hands feel heavy and warm.”
Regular training practice is the key to success. You should be able to raise your skin temperature by several degrees unless your baseline is already at 33-34°C / 91-93°F. The colder your hands are in the first place, the more potential you have to raise their temperature. In principle, you can achieve over 36°C / 97°F in your hands, a temperature normally reserved to your body core. Continue training in this second stage until you can comfortably and consistently raise your hand temperature with the use of temperature biofeedback.
STAGE 3 – Relaxation without feedback
Check if you can reach a state of deepened relaxation, and the corresponding rise in skin temperature, without feedback. After measuring your baseline temperature, as usual, alternate between watching and not watching the feedback, two minutes each way. The longer and more often you can keep your temperature up without the feedback, the better your self-control has already become.
Perform multiple sessions in this third stage. When you can keep your skin temperature up for a prolonged time and mainly without feedback, you have successfully completed this stage.
STAGE 4 – Deliberate provocation, relaxation and stress coping
Finally, you should check if you have acquired improved stress resilience. Start a session with the baseline as usual, then keep your skin temperature raised (well above 30°C / 86°F) for a couple of minutes.
Put your training to the test, and try training intentionally under stress You can recall previously memorized everyday situations in which you tend to have cold hands, or situations that have caused tension and anger. You can also move to a stressful environment, or ask another person to exert a stressful stimulus upon you. Keep the stress situation short and do not overload your ability to cope with it.
If you can sustain elevated levels of skin temperature during strenuous situations, ideally at levels above your personal maximum in the first stage, you have learned to remain relaxed and calm even in difficult and stressful situations. You have fully reached the goal of hand-warming biofeedback training!
Tips & tricks for hand-warming biofeedback
Preparation
- Attach the thermistor tip to the middle finger of your dominant hand. The probe should be attached to the fleshy underside of your finger. Always record temperature from the same place on your finger.
- Use scotch tape or cloth medical tape, making sure your finger perspires as little as possible. Don’t adhere the tape too tight, or circulation will be inhibited.
- Temperature readings should be taken at room temperature, where the ambient temperature is 69 – 73°F. Try to avoid areas with fans, air conditioners, heaters, drafts or breezes. Avoid contact with warm or cold objects.
- When you are beginning temperature training find a comfortable, quiet environment to train in; later you’ll be able to practice and use this skill in any environment.
- Initial temperature training should be practiced when you are feeling relatively well, i.e. not during a headache. When the hand-warming relaxation skill is learned, you will use it for prevention of the symptom, at symptom onset, and during the symptom.
Hand Temperature
- When you are neither deeply relaxed or stressed, your starting hand temperature will be in the mild or high 80s.
- Finger temperature of 70°F or below is very cold. 75°F is cold, 80°F is cool, 90°F is warm, and the training goal is ~95°F for 10 minutes.
- If your hands are cold, your temperature may increase slowly, and only after several minutes of training. If your hands are in the low-mid 80s temperature may increase rapidly. If your hands are in the low-mid 90s, your temperature may increase slowly, with only a few degrees of increase, but at that level, a few degrees is a significant change.
- When you master training on your dominant hand, place the thermistor on your non-dominant hand to make sure that the training is generalized.
Training On The Feet
- Raising the temperature in your feet may be more difficult than in your hands; feet tend to be many degrees colder than the hands, especially in the winter. Temperatures of 90 – 93°F are excellent in the feet.
- Place the thermistor on your first (big) or second toe. Your foot should be covered with a blanket.
- Following whole body relaxation, focus primarily on relaxation and heaviness in the lower part of your body.
Additional Advanced Reading
A Guide to Cleaner Skin Temperature Recordings and More Versatile Use of Your Thermistor by Fredric Shaffer, Didier Combatalade, Erik Peper
“Valid peripheral temperature measurements ensure the integrity of client assessment and biofeedback training. Accurate measurements require understanding of the signal and potential influences on measurement fidelity, and developing bulletproof monitoring procedures. In addition to their use in temperature biofeedback, thermistors can assist heart rate variability biofeedback practice and monitor breathing when a respirometer is not available.” View PDF
A Teaching Strategy for Successful Hand Warming by Erik Peper, Katherine H. Gibney
“This essay outlines a successful approach used in groups to elicit rapid peripheral warming as a strategy to encourage learning and personal beliefs. It is a useful tool to demonstrate to an audience to the value of a biofeedback approach to mobilize health.” View PDF
Is it possible to get in the calm and relax mode when you are doing chores like washing floors, gardening etc…. I can get in the 90’s when I’m sitting, reading, lying down and meditating but remain stressed while doing. Do others have this problem?
It may be possible. I am not a clinician and it would be best to find a biofeedback therapist to work with check out http://www.aapb.org . They have a full list of biofeedback providers.