We use cookies to make your experience better. To comply with the new e-Privacy directive, we need to ask for your consent to set the cookies. Learn more.
Switch Sensor Cable for ProComp 2 with EEG-Z Sensor
- Easily trigger impedance checks with the EEG-Z sensor
- Switch button briefly interrupts the sensor circuit
- Avoids having to disconnect and reconnect the sensor
- For use with ProComp2 encoder and EEG-Z sensor only
Our Part #
TTL SA9387M
Manufacturer Part #
T9387M
In Stock
$50.00
The switch sensor cable enables you to trigger an impedance check with the EEG-Z sensor by pressing and releasing the switch button to briefly interrupt the sensor circuit. The EEG-Z sensor enters impedance checking mode, without requiring you to disconnect and reconnect the sensor.
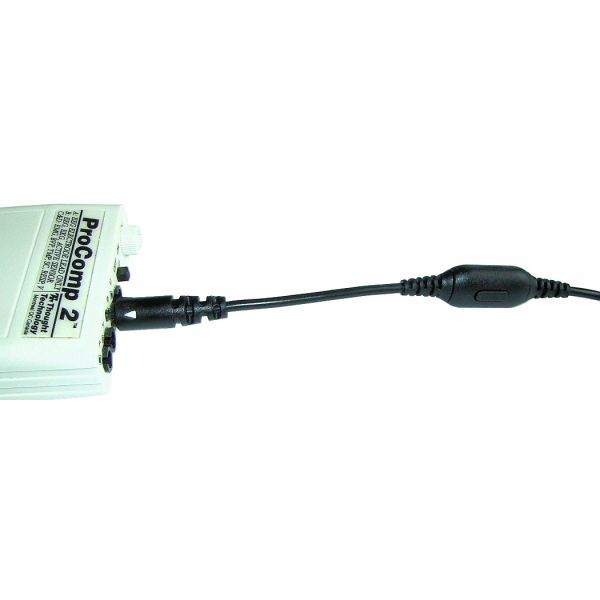
The switch sensor cable is a replacement cable designed specifically for use with the ProComp2 encoder and the EEG-Z sensor.
Write Your Own Review
Connecting the Cable
- Align the guiding dot on the top of the cable plug with the notch in the encoder input socket, and gently insert the plug into the socket.
- Repeat this to connect the other end of the cable to the bottom of the sensor head.
- 1. Use the switch sensor cable to connect the EEG-Z sensor to Input B of the ProComp2 encoder.
- 2. Place the electrodes on the client and connect the EEG extender cable to the EEG-Z sensor.
- 3. Start the software, choose the impedance checking channel set, and start a session.
- 4. Do not start recording. Access the impedance checking function from the Hardware menu.
- 5. Press and release the switch button on the sensor cable.
- 6. If necessary, adjust the electrodes on the client and then repeat the preceding step.
- 7. When you are satisfied with the displayed values, close the impedance check window and end the impedance checking session.
- 8. Connect the EEG extender cable to Input A of the ProComp2 encoder, and disconnect the switch sensor cable and EEG-Z sensor from Input B.
- 9. Choose the appropriate channel set and start the recording session.